The Art of Over-Engineering
My Terminal
May 22, 2019
Prereq’s
Make sure these are installed:
Nerd Font
Nerd Fonts are fonts with icons included. Install Hasklig from Nerdfonts and configure .hyper.js to use it:
Heads up, the font name is called Hasklig on Nerdfonts but installs as Hasklug NF locally
// ~/.hyper.js
module.exports = {
  config: {
      // ...
      fontFamily: '"Hasklug NF", "DejaVu Sans Mono", Consolas, "Lucida Console", monospace',
  }
}
Pure Prompt
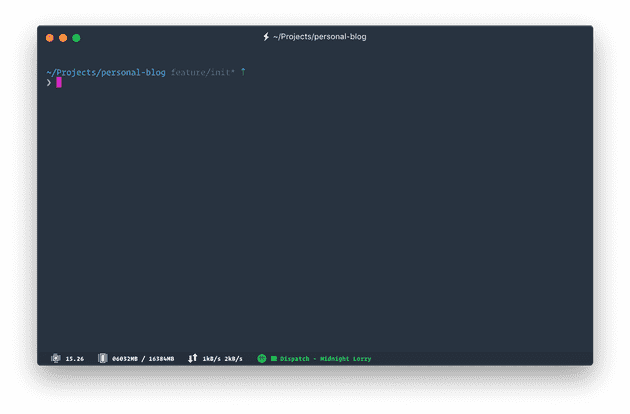
Pure is a minimal zsh prompt. Install the prompt globally via npm:
npm install --global pure-promptThen update .zshrc to load the prompt:
# ~/.zshrc
autoload -U promptinit; promptinit
prompt pure
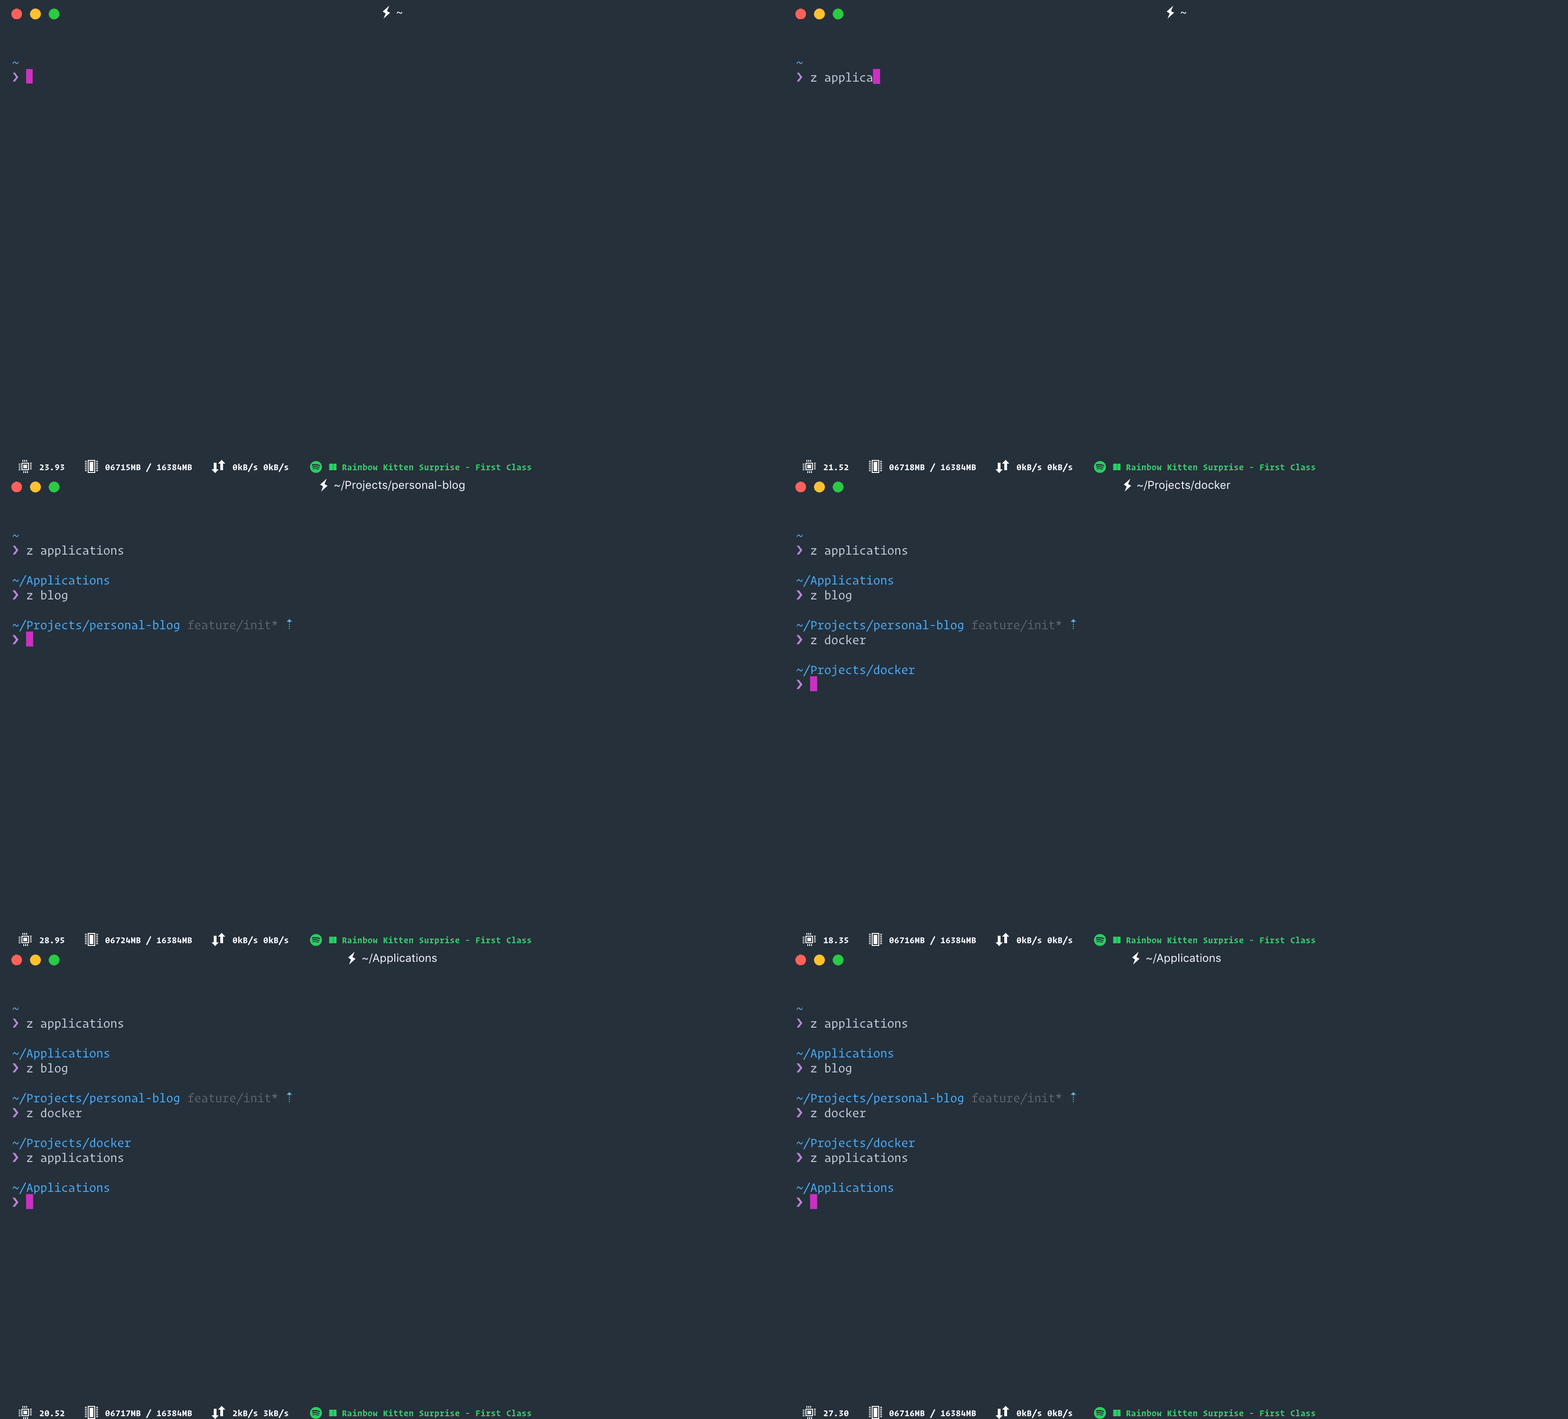
Z

Z is a CLI tool that lets you quickly jump to directories that have been frequently visited in the past. Follow the installation instructions for oh-my-zsh.
Colors LS

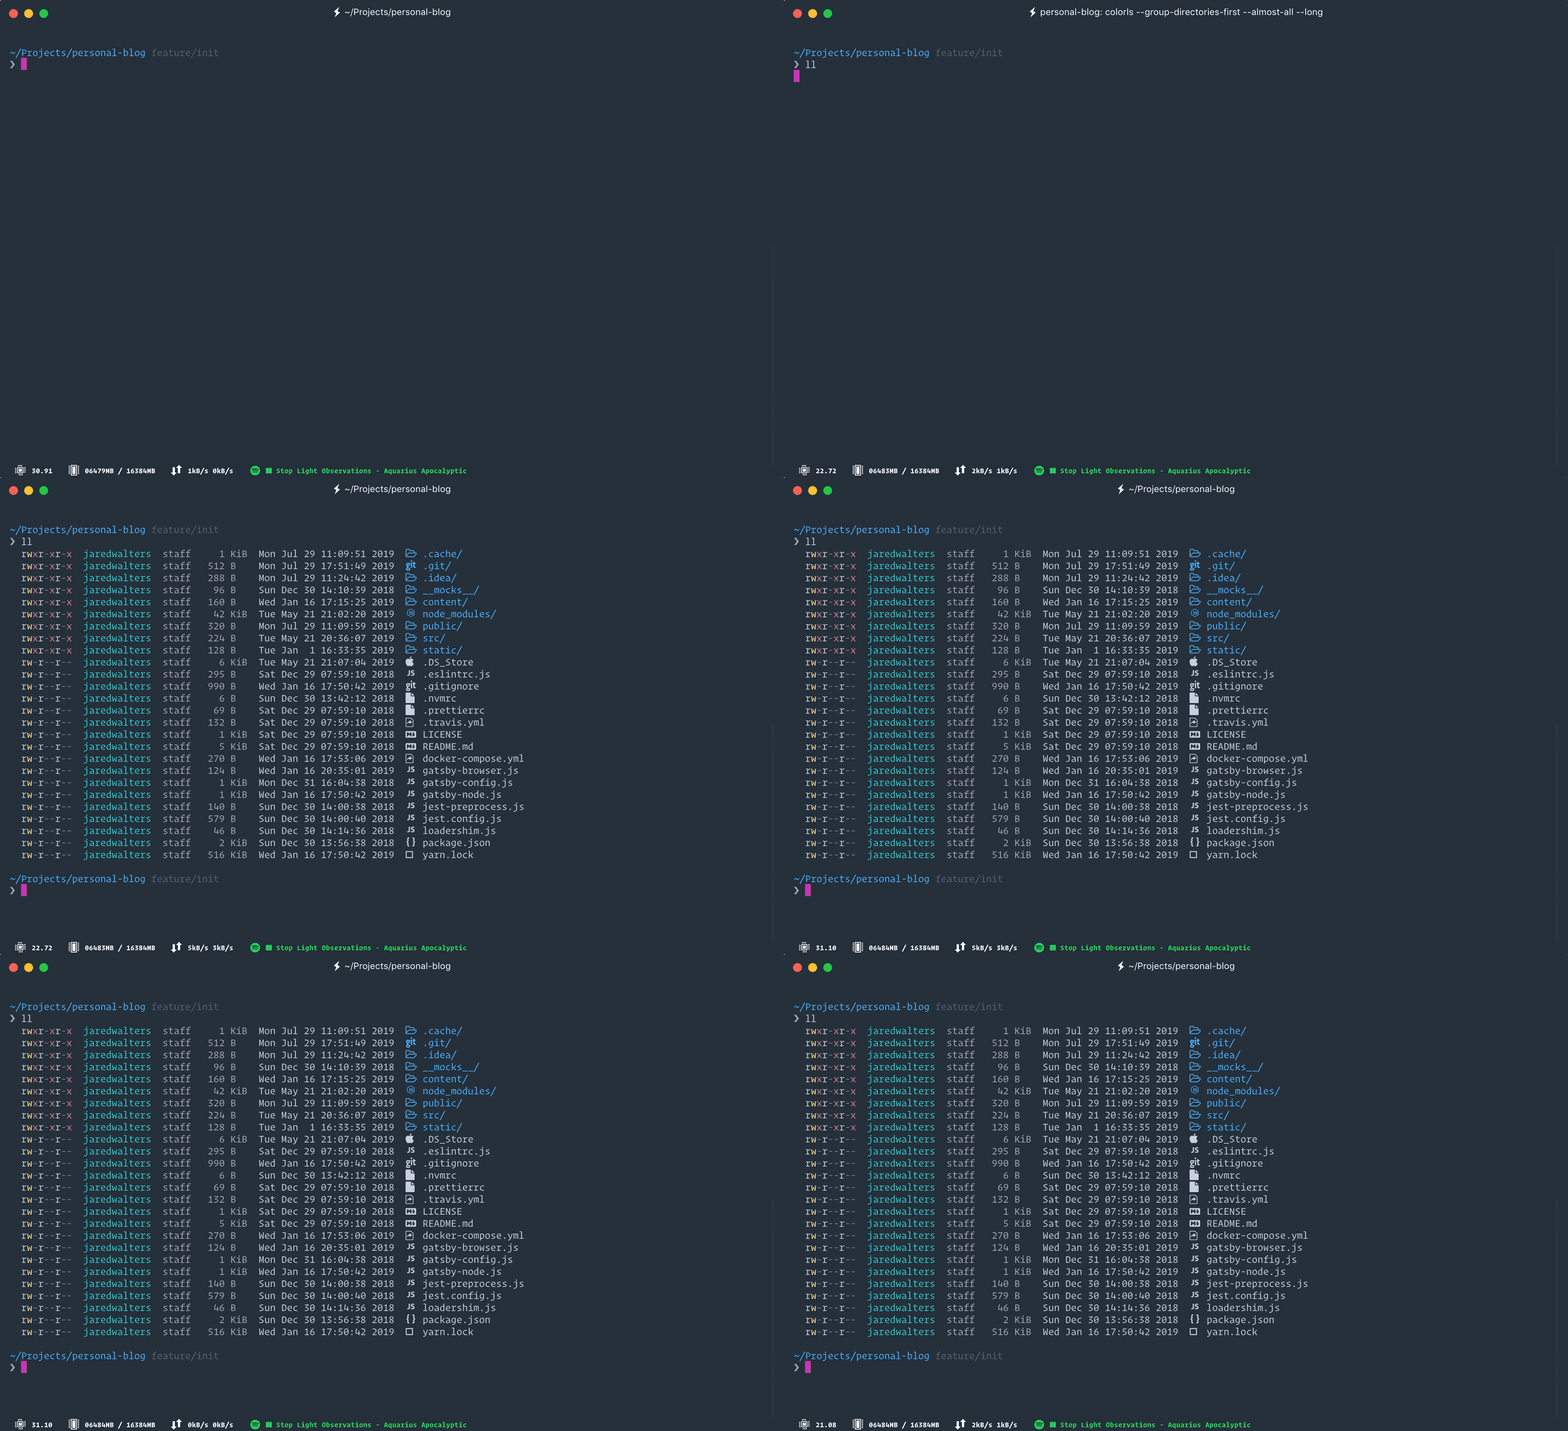
Color LS beautifies the terminal’s ls command with color and font-awesome icons.
Install the ruby gem:
gem install colorlsAnd add the ll and l aliases to .zshrc to to use Color LS:
alias l='colorls --group-directories-first --almost-all'
alias ll='colorls --group-directories-first --almost-all --long' # detailed list view
Make a Color Scheme
Create a custom color scheme for Color LS. Use the Color LS dark theme as a basic template:
Make sure
~/.config/colorlsdirectory exists.
cp $(dirname $(gem which colorls))/yaml/dark_colors.yaml ~/.config/colorls/dark_colors.yamlNext, open dark_colors.yaml and replace its contents:
# Main Colors
unrecognized_file: lightgray
recognized_file:   white
dir:              blue

# Link
dead_link: red
link:      magenta

# special files
socket:    white
blockdev:  white
chardev:   white

# Access Modes
write:     yellow
read:      gray
exec:      red
no_access: dimgray

# Age
day_old:     white
hour_old:    white
no_modifier:  white

# File Size
file_large:  white
file_medium: lightgray
file_small:  darkgray

# Random
report: white
user:   cyan
tree:   dimgray
empty:  yellow
error:  red
normal: darkgray

# Git
addition:     green
modification:  yellow
deletion:     red
untracked:    darkgray
unchanged:    white
Hyper Plugins
Configure plugins in .hyper.js
plugins: [
    'hyper-chesterish',
    'hyper-tabs-enhanced',
    'hyperline',
    'hyper-search',
    'hyperterm-paste',
    'hypercwd',
    'hyper-quit',
    'hyper-pane',
],
Bonus
Configure zsh to call nvm use automatically in any directory with a .nvmrc file.
Add the following to ~/.zshrc
# place this after nvm initialization!
autoload -U add-zsh-hook

load-nvmrc() {
    local node_version="$(nvm version)"
    local nvmrc_path="$(nvm_find_nvmrc)"

    if [ -n "$nvmrc_path" ]; then
        local nvmrc_node_version=$(nvm version "$(cat "${nvmrc_path}")")

    if [ "$nvmrc_node_version" = "N/A" ]; then
        nvm install
    elif [ "$nvmrc_node_version" != "$node_version" ]; then
        nvm use
    fi
    elif [ "$node_version" != "$(nvm version default)" ]; then
        echo "Reverting to nvm default version"
        nvm use default
    fi
}

add-zsh-hook chpwd load-nvmrc
load-nvmrc
Engineer the shit out of things.
